Dockerized (Swarm) Plex, iSCSI config folder, and less local disk space usage
Hey everyone.
So in this article i am writing the steps needed to connect an iscsi mount to your machine to use (in my case) as a Plex Media Server config mount.
The need for this arose after trying to run Plex in Docker Swarm and trying to mount the config folder in the NFS system i have setup and having it fail within seconds of starting up which led to locking the stack to one node and keeping the config mount on the local machine.
After some extensive testing, mounting the iscsi drive and using it rather than the local share allowed for Plex to be properly configured in the stack and not setting a constraint to one node.
At time of writing this was tested and confirmed with:
– iSCSI Target: Synology DS1819+ running DSM 7.2-64570 Update 1 with a 10g eth card
– iSCSI initiator: Ubuntu 20.04.6 LTS
– Plex Media Server Version 1.32.5.7349
– Docker Engine Version 24.0.6
iSCSI Target
For this section i will quickly walk you through (with screenshots) how to setup an iSCSI target on Synology. I wont go into to too much detail in this section since it is decently straight forward.
Start by opening the “SAN Manager” (icon showed below):
Click to enlarge
Once you click through you should see a similar window to this:
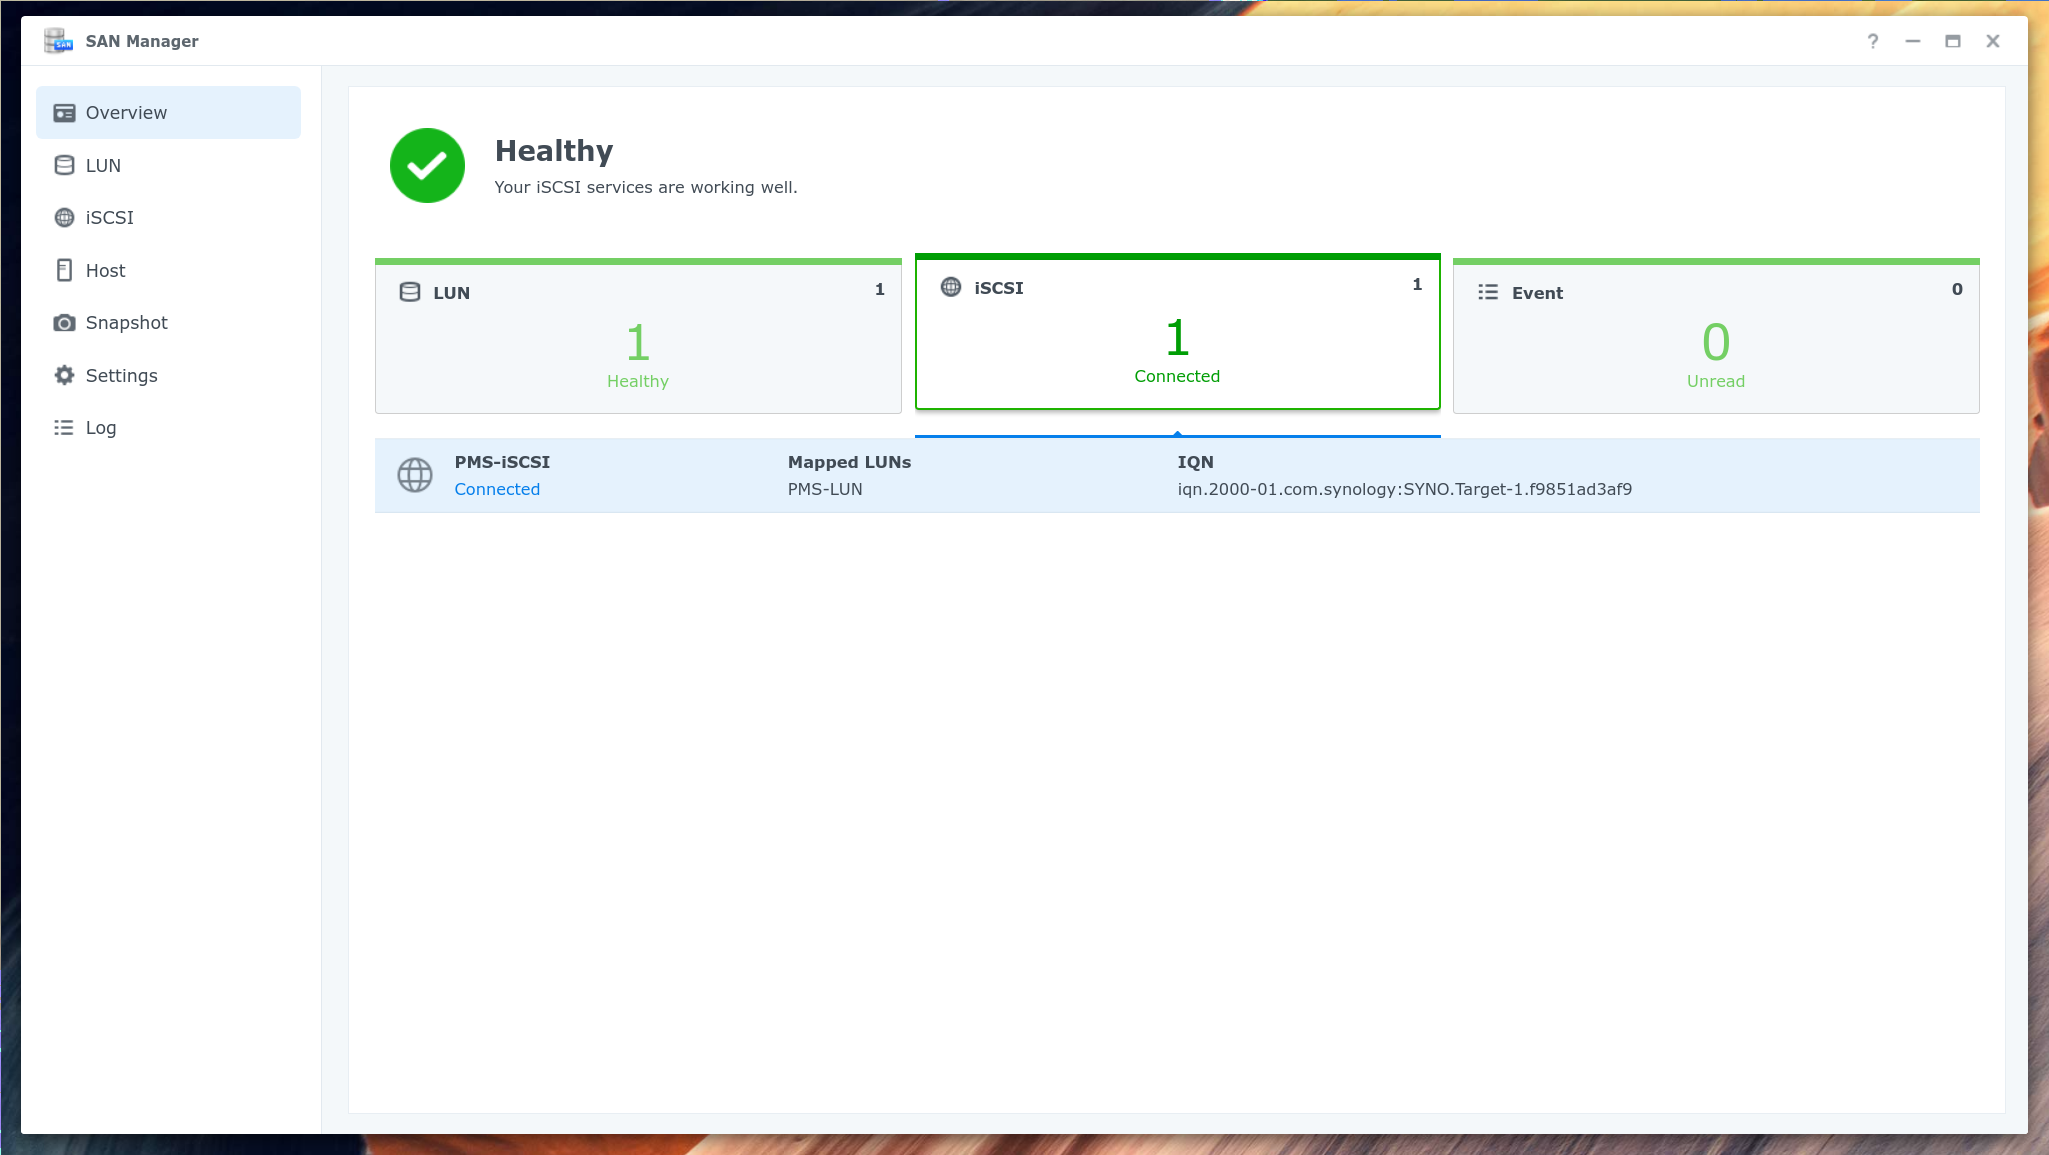
Click to enlarge
In this window you will click “iSCSI” on the left and then click “Add” which will bring you to this window:
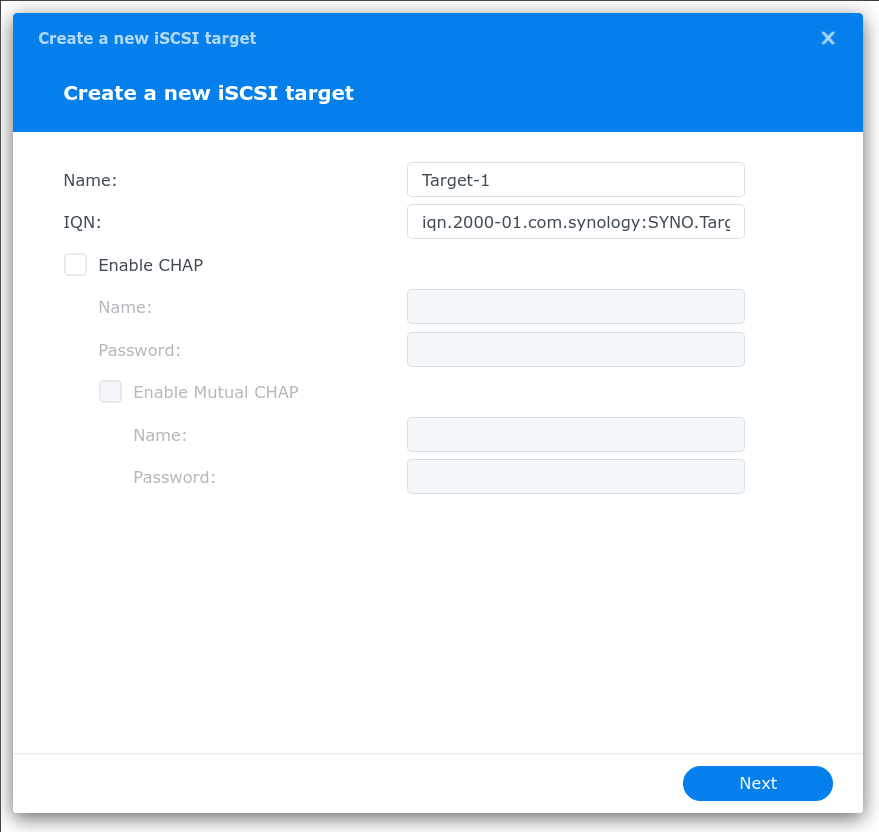
Click to enlarge
Make sure you name it something that makes sense to you.
We won’t go into CHAP configuration for this write up. I will leave that for a future article.
Once you are happy with the Name click “Next” which will bring you to this window:

Click to enlarge
Since we do not have an existing LUN we will create a new one.
So click “Next” which will bring you to this window:
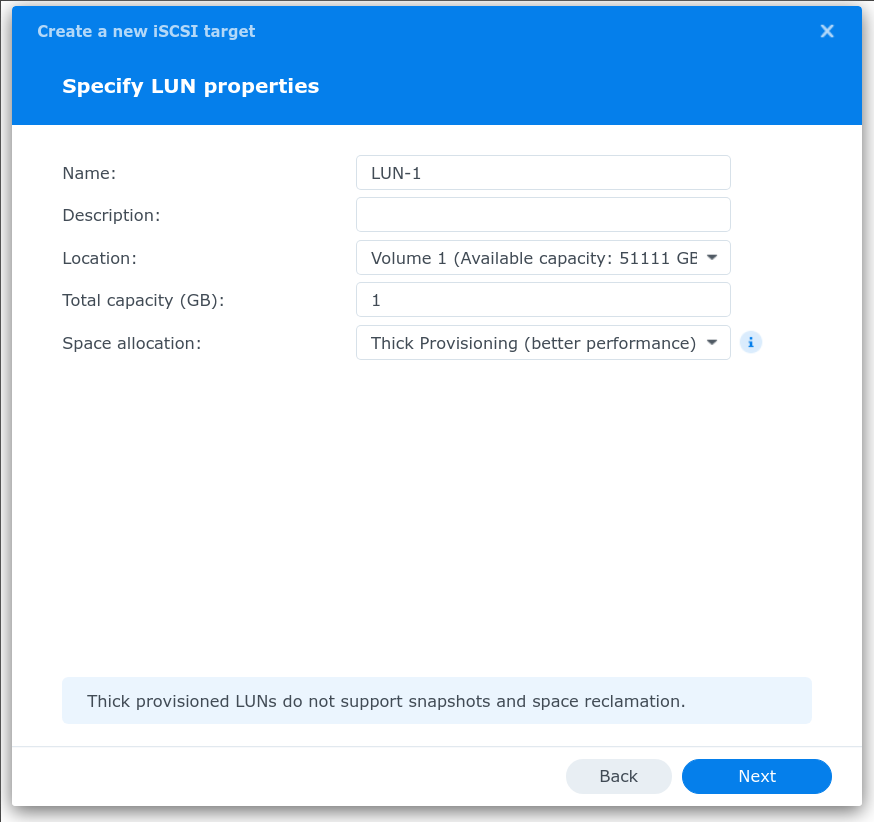
Click to enlarge
Again, give this a unique name.
For the purpose of our usage set it to a reasonable size that will house our Plex config folder (I used 500gb).
For “Space allocation” keep this option as “Thick provisioning”.
Click “Next” which will bring you to this window:
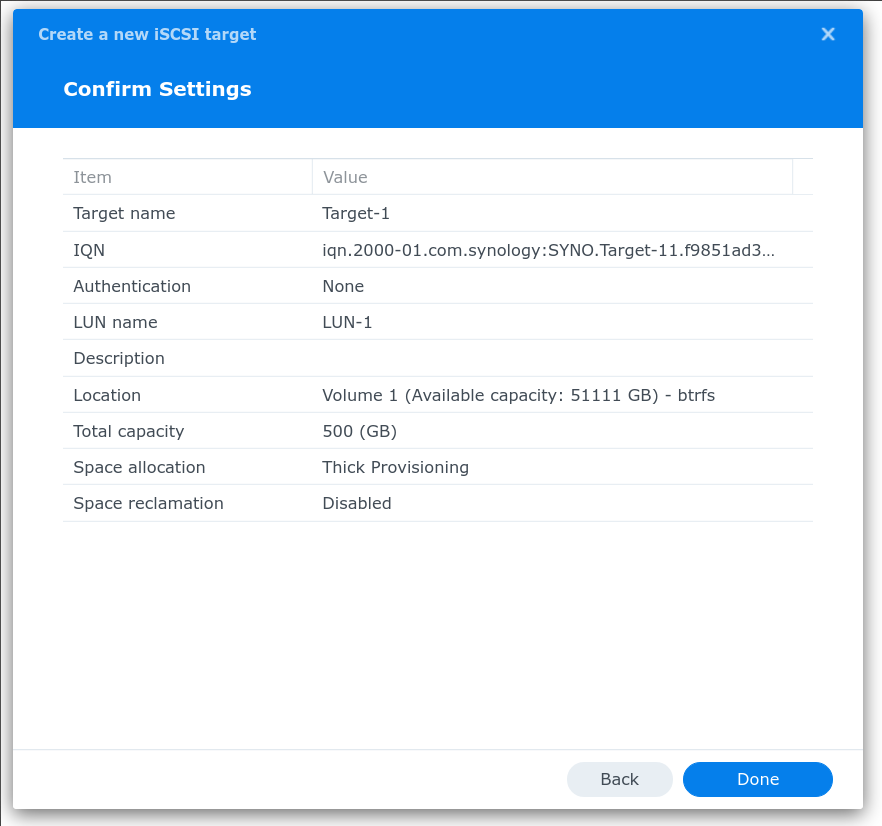
Click to enlarge
If you are satisfied with your options so far click “Done” and then click “Overview” which will ook similar to this:

Click to enlarge
As you can see in our example “Target-1” is showing as ready.
We can proceed on to the next section.
Prepping for the iSCSI Initiator
Now we need to hop on the system we want to mount this created Target onto.
First, let us update the system and install the “open-iscsi” package:
sudo apt update -y
sudo apt upgrade -y
sudo apt install open-iscsi -y
Once that package is installed and the system up to date lets enable the “open-iscsi” and “iscsid” packages:
sudo systemctl enable open-iscsi
sudo systemctl enable iscsid
Now, we want to make sure that iscsid starts up automaticcaly so we will edit iscsid.conf:
sudo vi /etc/iscsi/iscsid.confand now uncomment: # node.startup = automatic
and comment: node.startup = manual
iSCSI Initiator
Now, with the Target configured and the system updated lets go ahead and add the mount.
First, lets search for the IQN:
sudo iscsiadm \
  --mode discovery \
  --type sendtargets \
  --portal 192.168.100.70
A bit of explanation to the code block above:
– the mode we are in now is “discovery” which is pretty self explanatory
– the type is “sendtargets” or “st” since we are looking for the targets
– portal is the address of the target
Once that command is run you will get an output similar to this:
192.168.100.70:3260,1 iqn.2000-01.com.synology:SYNO.Target-1.f9851ad3af9
192.168.100.71:3260,1 iqn.2000-01.com.synology:SYNO.Target-1.f9851ad3af9
As you can see there are 2 lines with 2 different addresses. The Synology setup i have because of the 1g && 10g interfaces shows both.
We will be going with the 10g interface (192.168.100.70).
Now lets login to the target using the the IQN “iqn.2000-01.com.synology:SYNO.Target-1.f9851ad3af9” on the 10g interface “192.168.100.70:3260”:
sudo iscsiadm \
  --mode node \
  --target iqn.2000-01.com.synology:SYNO.Target-1.f9851ad3af9 \
  --portal 192.168.100.70:3260 \
  --login
If this succeeded you will get an output similar to this:
Logging in to [iface: default, target: iqn.2000-01.com.synology:SYNO.Target-1.f9851ad3af9, portal: 192.168.100.70,3260] (multiple)
Login to [iface: default, target: iqn.2000-01.com.synology:SYNO.Target-1.f9851ad3af9, portal: 192.168.100.70,3260] successful.
Now, lets set the discovery sendtarget to use discoveryd:
sudo iscsiadm \
  --mode node \
  --target iqn.2000-01.com.synology:SYNO.Target-1.f9851ad3af9 \
  --portal 192.168.100.71:3260 \
  --name discovery.sendtargets.use_discoveryd \
  --value Yes
If this command succeeded you should get an output that begins with “BEGIN RECORD” and ends with “END RECORD” showing you all the settings in that record.
Now lets set the discoveryd poll interval to 30:
sudo iscsiadm \
  --mode node \
  --target iqn.2000-01.com.synology:SYNO.Target-1.f9851ad3af9 \
  --portal 192.168.100.71:3260 \
  --name discovery.sendtargets.discoveryd_poll_inval \
  --value 30
And again if this command succeeded you should get an output that begins with “BEGIN RECORD” and ends with “END RECORD” showing you all the settings in that record.
At this point lets verify that the mount is available by running blkid
sudo blkid

/dev/md0p1: UUID="222ac411-912f-4d1d-8a82-6ef7d71240d9" TYPE="ext4" PARTUUID="15e9fbd6-f44c-457e-be96-07e7aa11f4ae"
/dev/md1p1: UUID="2cd56274-1e16-4af6-9bff-56ae27f52e13" TYPE="swap" PARTUUID="a9e40376-2cc6-4fc3-a961-d1d7397851fb"
/dev/md2p1: UUID="5d91475d-d5f8-4f66-8abd-2c5afb9b3fe9" TYPE="ext4" PARTUUID="715ee574-2fd7-4812-859f-6f1d2349899a"
/dev/sda: UUID="70d3e85d-2b41-434a-83cc-8d33a03ebe35" PARTUUID="94c73745-01"
and as we can see we have a new disk “/dev/sda”.
now create filesystem on disk
use either fdisk or parted to create a partition on the new disk (/dev/sda)
once done then create a filesystem (for our example we are using ext4)
sudo mkfs.ext4 /dev/sda1
when this is complete lets add this new disk to the fstab file so lets run blkid again to get the UUID :
/dev/md0p1: UUID="222ac411-912f-4d1d-8a82-6ef7d71240d9" TYPE="ext4" PARTUUID="15e9fbd6-f44c-457e-be96-07e7aa11f4ae"
/dev/md1p1: UUID="2cd56274-1e16-4af6-9bff-56ae27f52e13" TYPE="swap" PARTUUID="a9e40376-2cc6-4fc3-a961-d1d7397851fb"
/dev/md2p1: UUID="5d91475d-d5f8-4f66-8abd-2c5afb9b3fe9" TYPE="ext4" PARTUUID="715ee574-2fd7-4812-859f-6f1d2349899a"
/dev/sda1: UUID="70d3e85d-2b41-434a-83cc-8d33a03ebe35" TYPE="ext4" PARTUUID="94c73745-01"
create the mountpoint that you want to use (in our case its /pms)
sudo mkdir /pms
If all is well so far up to this point we can add it to the fstab.
Here is the line i used in mine using the UUID of /dev/sda1 and the mount point of /pms
/dev/disk/by-uuid/70d3e85d-2b41-434a-83cc-8d33a03ebe35 /pms ext4 _netdev 0 1
now lets mount it :
sudo mount -a
and lets verify that it is there:
df -h

Filesystem                            Size  Used Avail Use% Mounted on
udev                                   63G     0   63G   0% /dev
tmpfs                                  13G  2.3M   13G   1% /run
/dev/md2p1                            441G  154G  265G  37% /
tmpfs                                  63G     0   63G   0% /dev/shm
tmpfs                                 5.0M     0  5.0M   0% /run/lock
tmpfs                                  63G     0   63G   0% /sys/fs/cgroup
/dev/md0p1                            984M  210M  707M  23% /boot
/dev/nvme1n1p1                        511M  6.1M  505M   2% /boot/efi
tmpfs                                  13G     0   13G   0% /run/user/1000
/dev/sda1                             492G  128G  339G  28% /pms
Lets verify also in the Synology now that the target is connected to by going into the San Manager
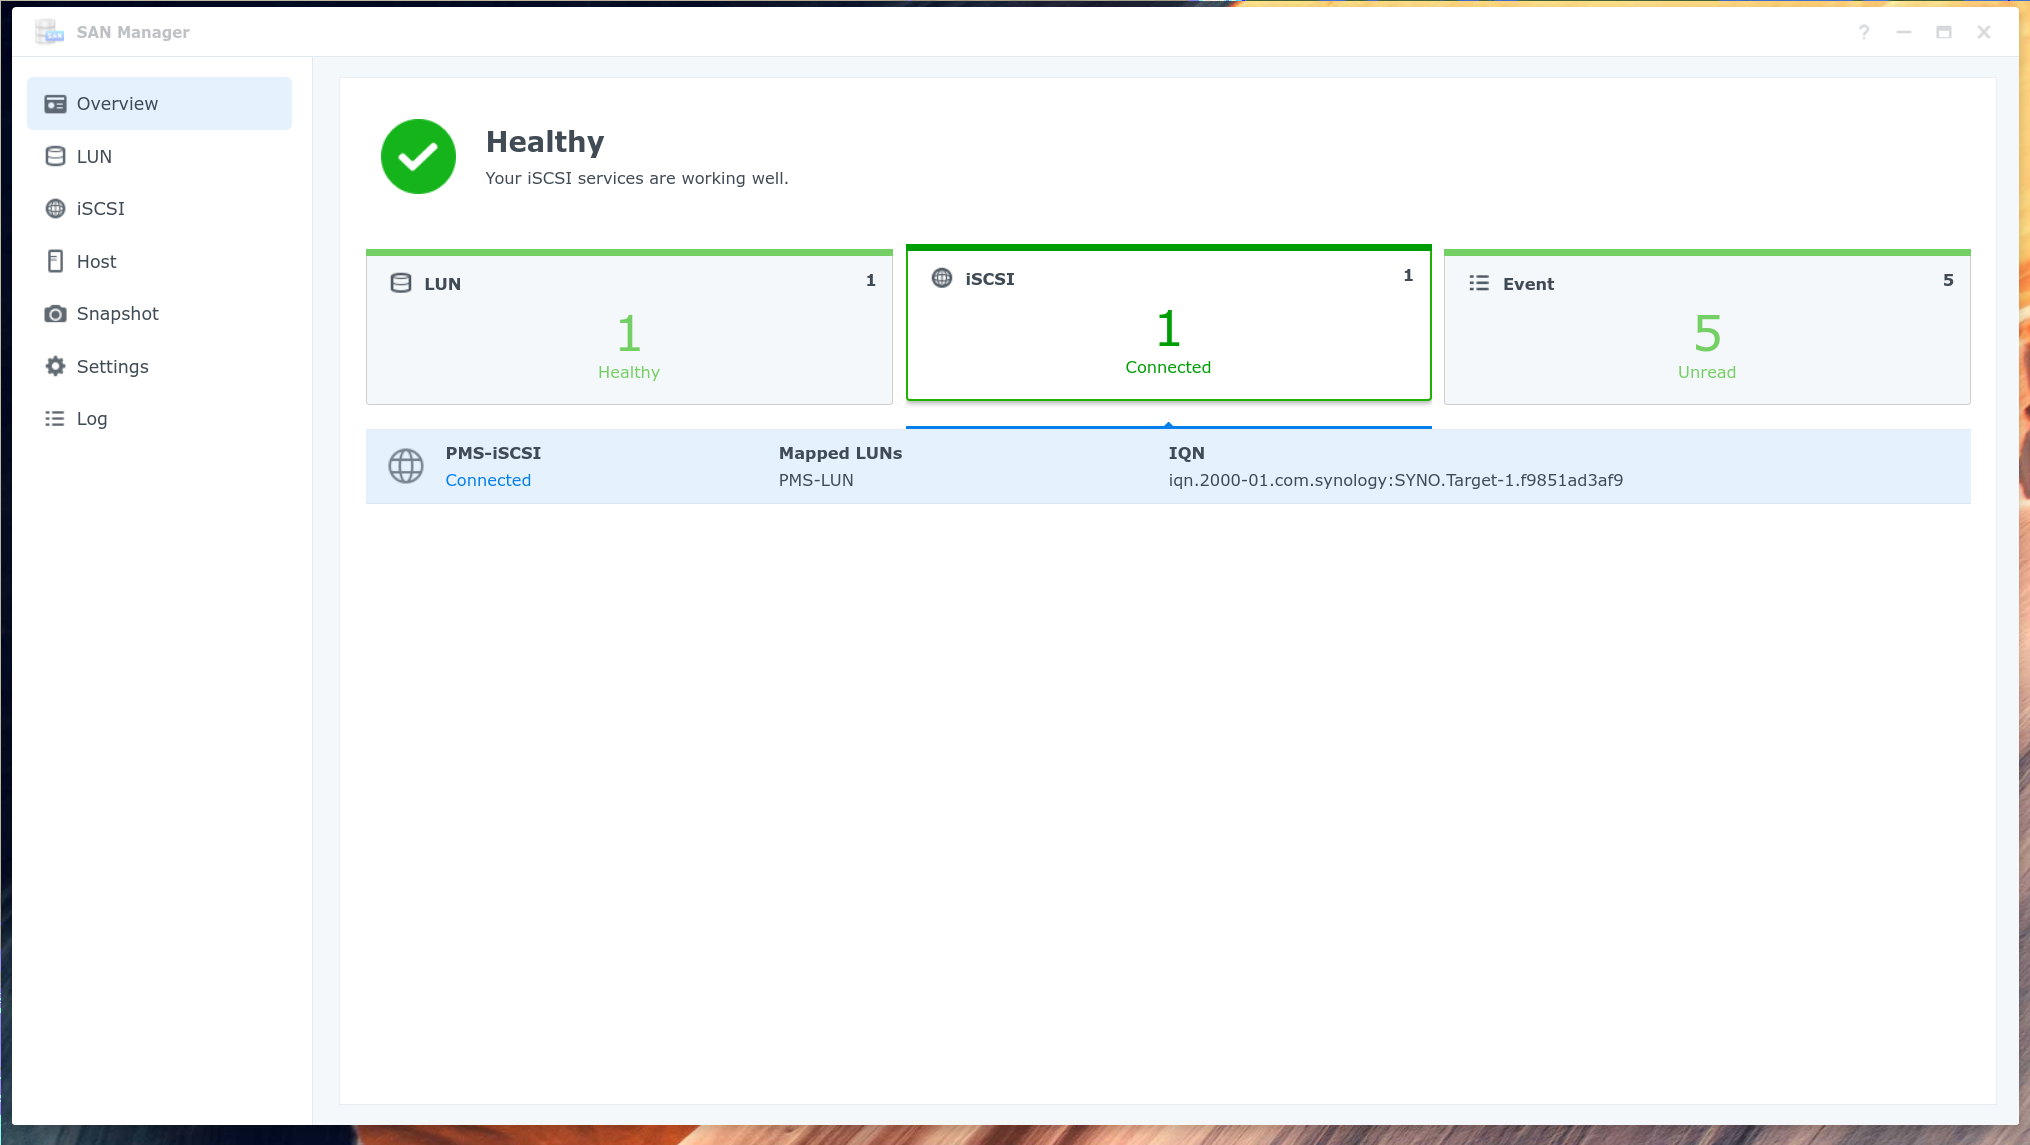
Click to enlarge
BOOM…
disk is in df…
the synology shows connections…
now to edit the swarm stack to reference this mount.
Docker Setup
This section is very straight forward since all we are doing is changing the “volumes:” section of our compose file to reference the mount point:
    volumes:
      - "/pms:/config"
At this point if you have an existing config mount i suggest you stop the plex stack, copy over the contents from the old config mount into the new, then restart the plex stack and test.
If it worked, plex now should be using the iscsi mount and not the local disk for config mount which eliminates local disk usage.
Notes / Errata
Again, i did all this because:
– i didn’t want local config storage for a swarm service
– nfs config storage was miserable at best due to it not being block level
– now, since plex is a swarm stack, i can remove the constraints and let it spawn on any node
et voilà!
Leave a Reply